DIY Wedding Projects
FALL | RUSTIC
Preparation time: 6 months
Preparation time: 6 months
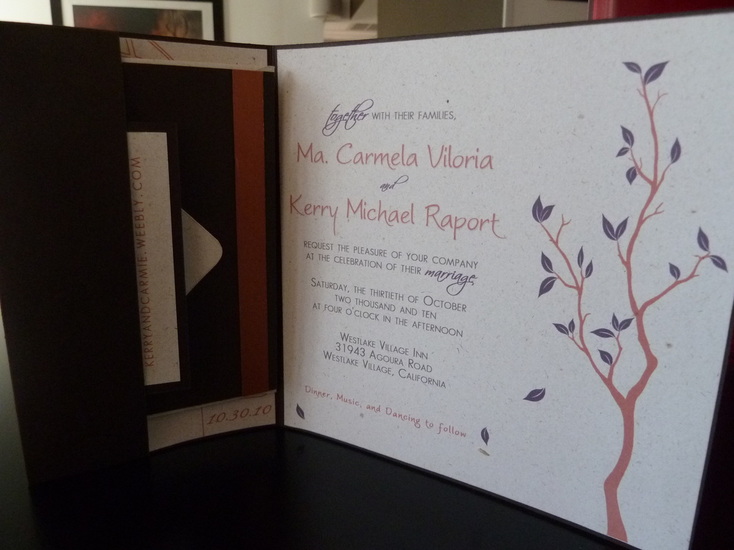
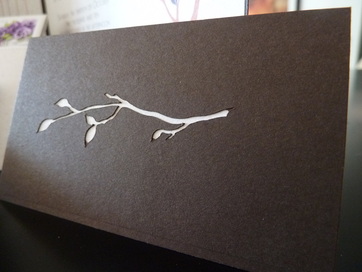
Invitations
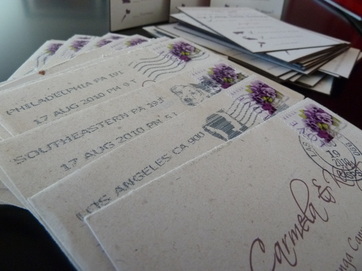
Everything was made from scratch including the envelopes
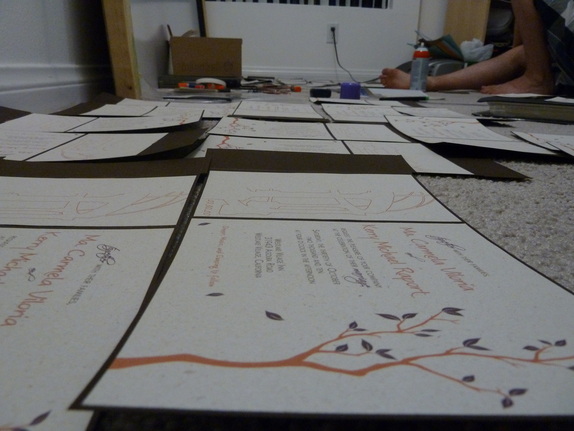
Talk about doing it yourself! So no, we are not about to spend $800 just on the invitations, and another $500 for the RSVP cards and envelopes, Papyrus. But thanks for the offer. =P
Designed by my husband
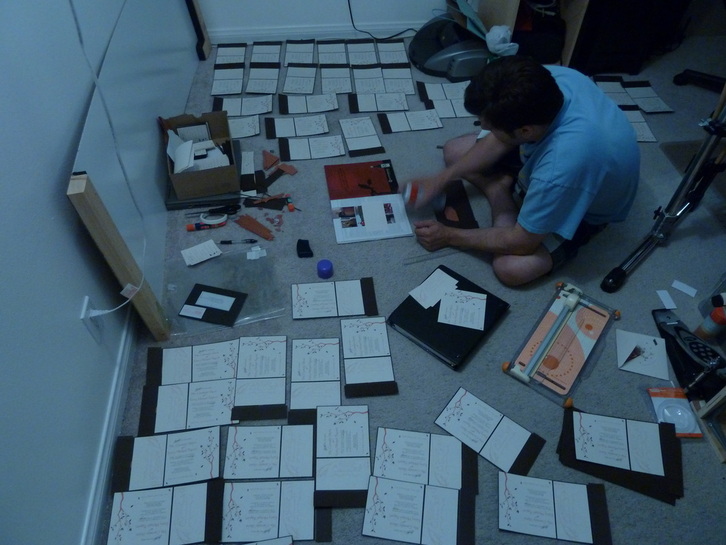
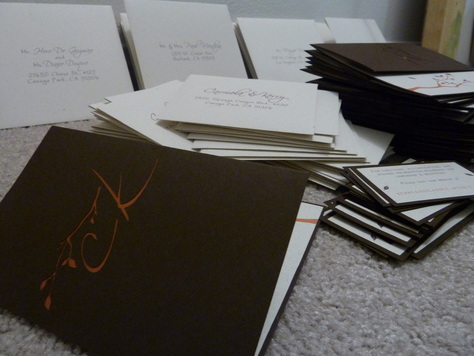
Pocketfold invitation with the RSVP card, return envelope and website card as inserts
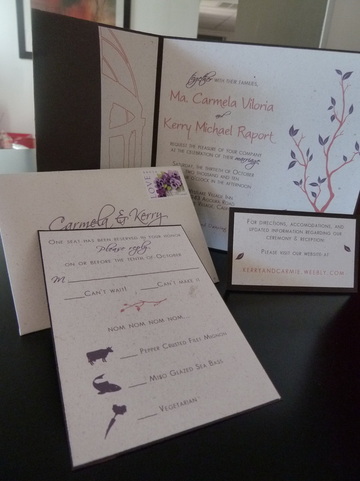
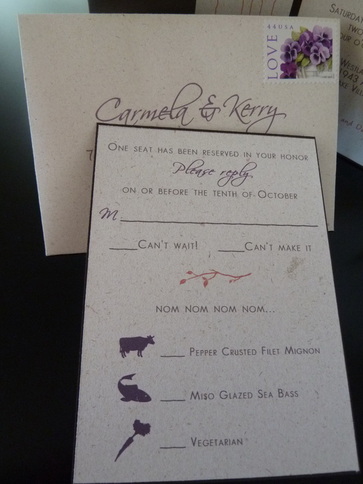
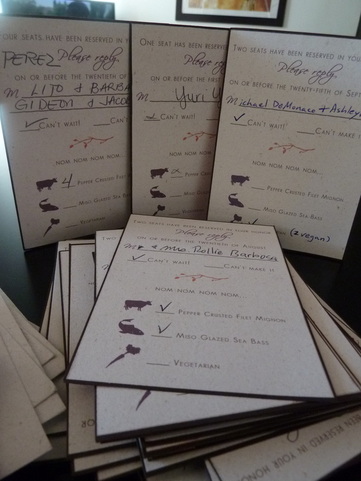
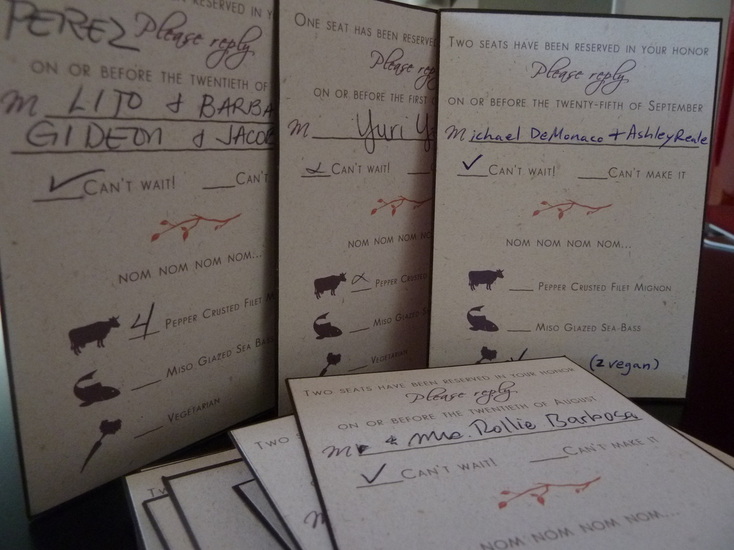
RSVP/response card
Website card - front
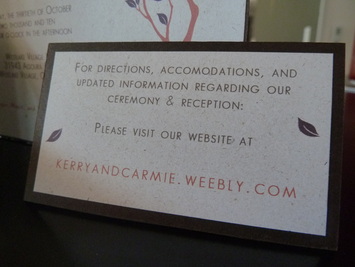
Back
RSVP cards in action
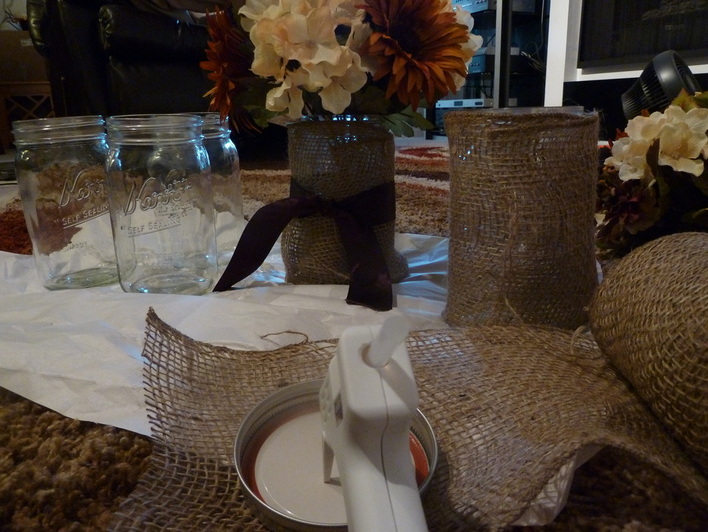
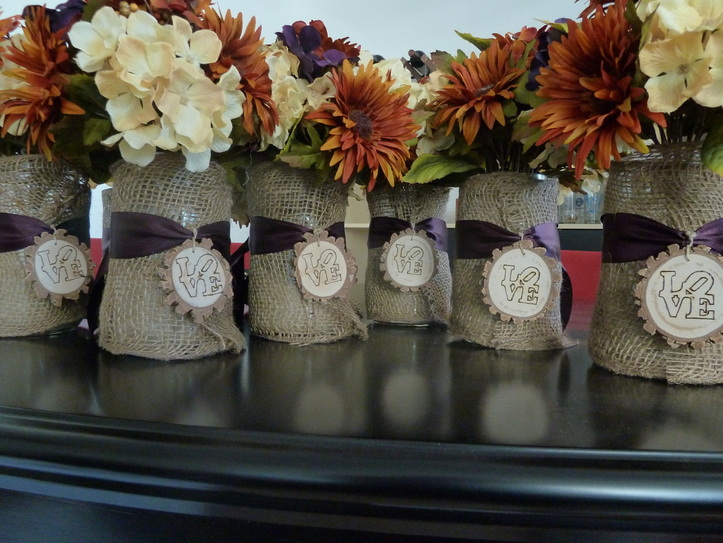
Centerpieces
The average cost of wedding flowers is around $700 and can go up to $3,000 depending on the flowers that you want to use. And if we choose to DIY fresh flowers, we would have to worry about 1) getting them a week before the wedding day, and 2) storing them in the fridge and run out of space for food while waiting for them to either bloom or wilt. If we get them straight from a florist, we would have to worry about getting them in on time so we thought it wasn't worth all the stress and money. We've decided to use silk flowers.
We found Fall flowers for our centerpieces from Michael's and bought them at 40% off! It was easy, it saved us a lot, and we were able to arrange them the way we want them, and even months before. =D
Materials used:
Kerr bottles, Fall flowers, burlap, purple ribbon, hot glue, sand (for weight)
We found Fall flowers for our centerpieces from Michael's and bought them at 40% off! It was easy, it saved us a lot, and we were able to arrange them the way we want them, and even months before. =D
Materials used:
Kerr bottles, Fall flowers, burlap, purple ribbon, hot glue, sand (for weight)
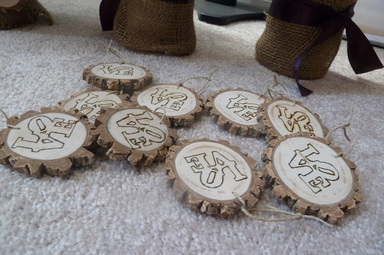
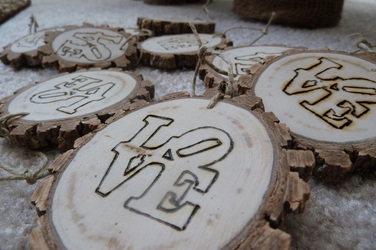
LOVE tags added to the centerpieces
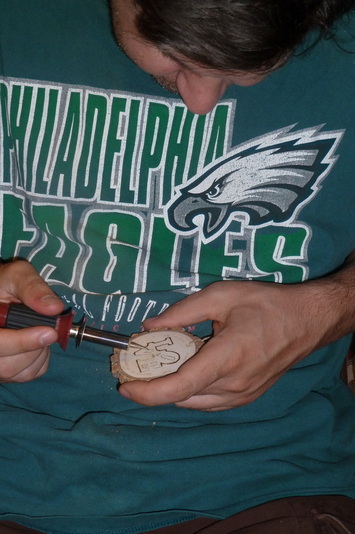
We bought wood slices from Etsy and my husband burnt the LOVE from the famous LOVE sculpture in Philadelphia.
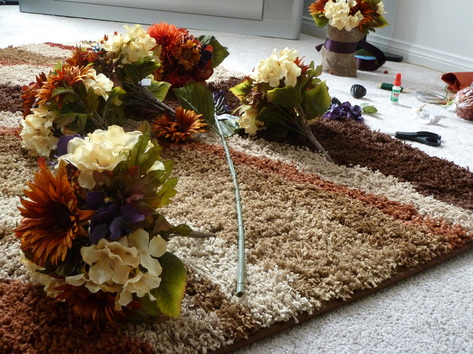
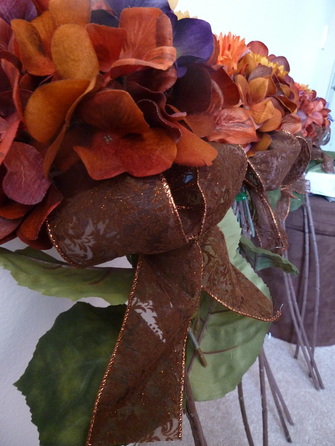
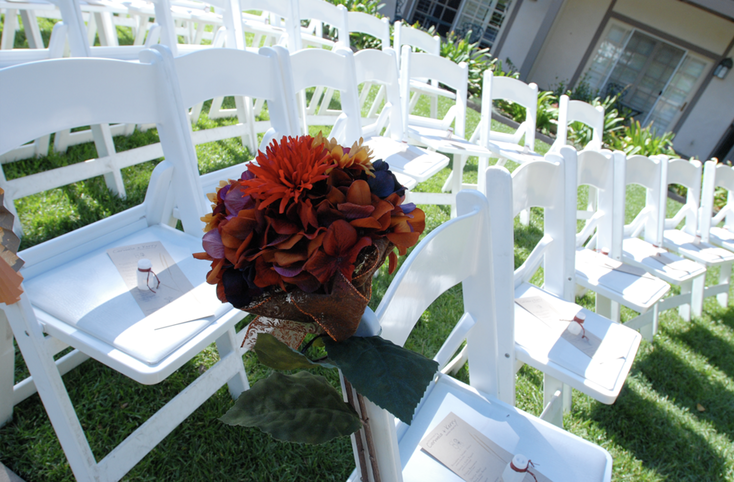
Ceremony flowers tied on the aisle chairs
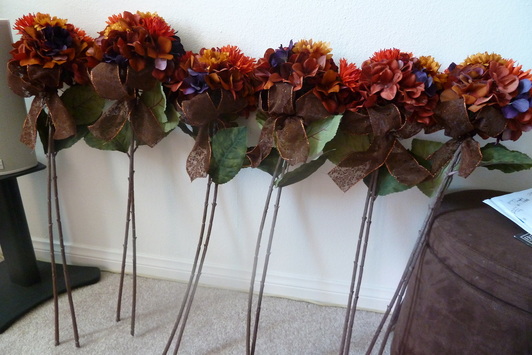
My inspiration was the floral pomander balls or the kissing balls used as wedding pew decorations for the ceremony. This was my first DIY project and had no clue on how to make one.
I was about to cut the stems to start the project when Kerry told me to keep them the way they were, and started the design from there. I think they turned out nicer, and different ;)

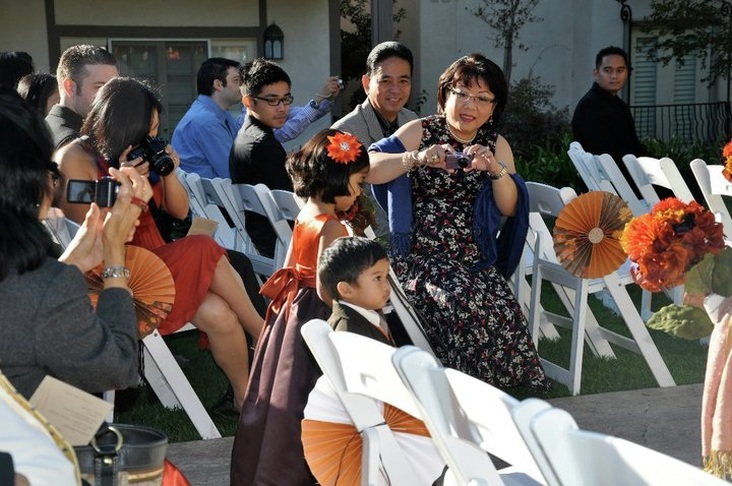
Pinwheels also tied on the aisle chairs alternating with the ceremony flowers
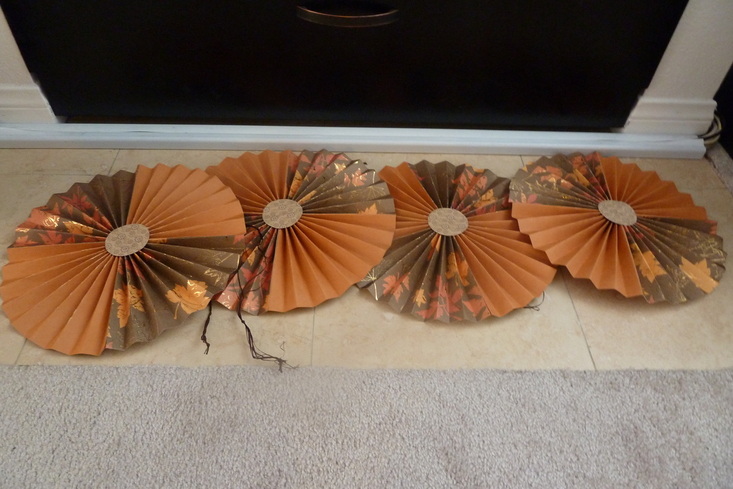
Ceremony flowers and pinwheels in action

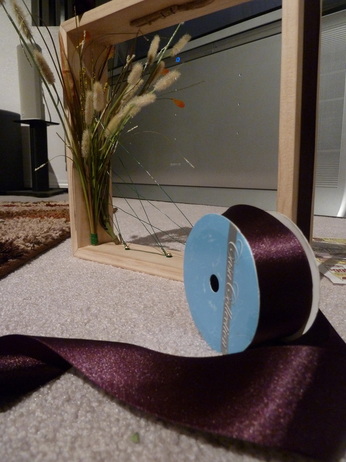
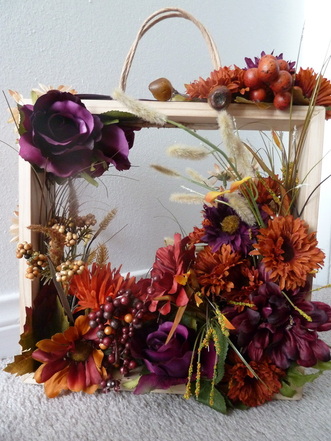
Flower box for our flower girl
Kerry made the box for me and then, I slowly filled it with flowers.
Tools
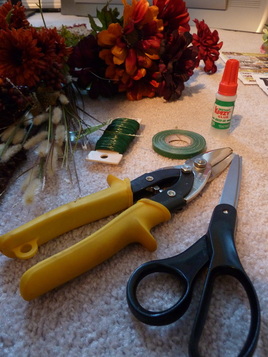
1. Flowers
2. Krazy glue
3. Scissors
4. Flower tape
5. Flower wire
6. Wire snips
2. Krazy glue
3. Scissors
4. Flower tape
5. Flower wire
6. Wire snips
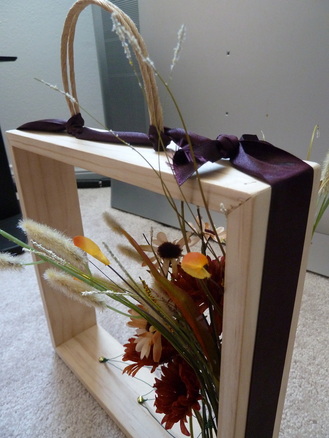
Added a purple ribbon around the box
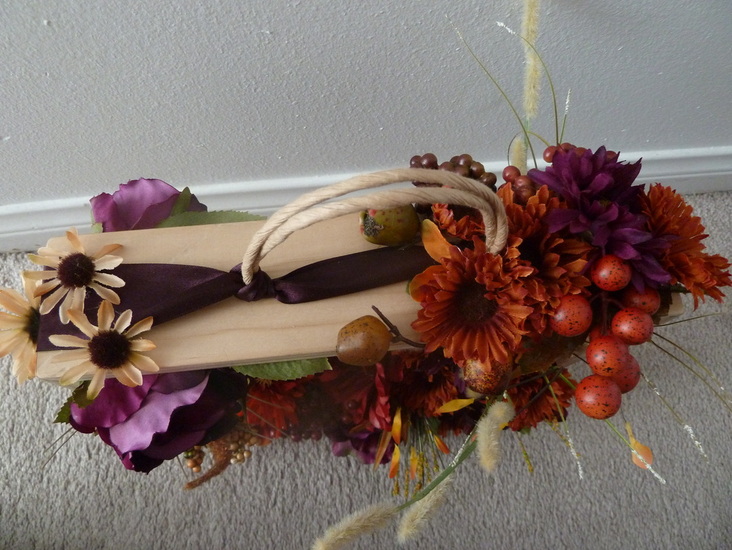
Ta-daa! Top view of the flower box
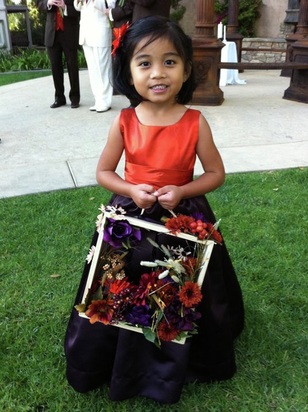
Flower box in action with my flower girl
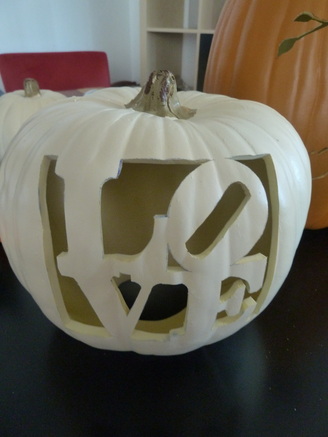
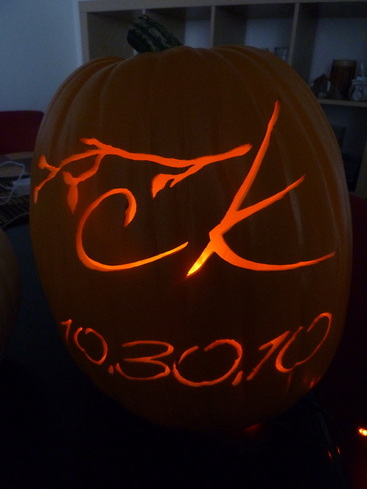
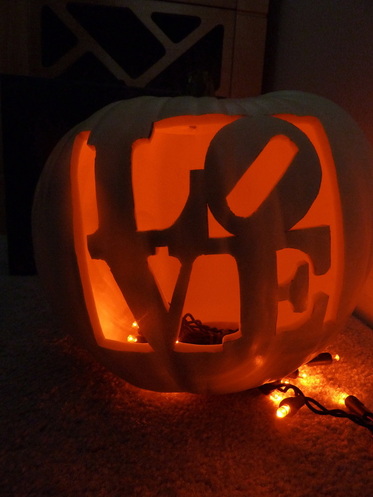
Funkin/s
n. an artificial pumpkin made of styrofoam
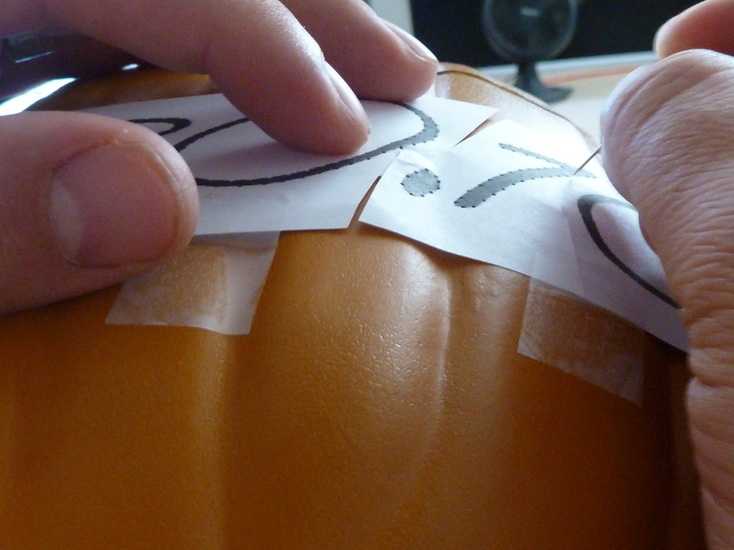
CK logo designed by Kerry
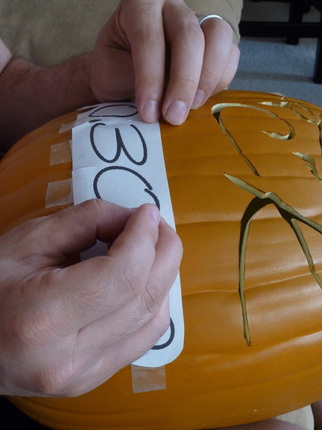
LOVE from the famous LOVE sculpture in Philadelphia
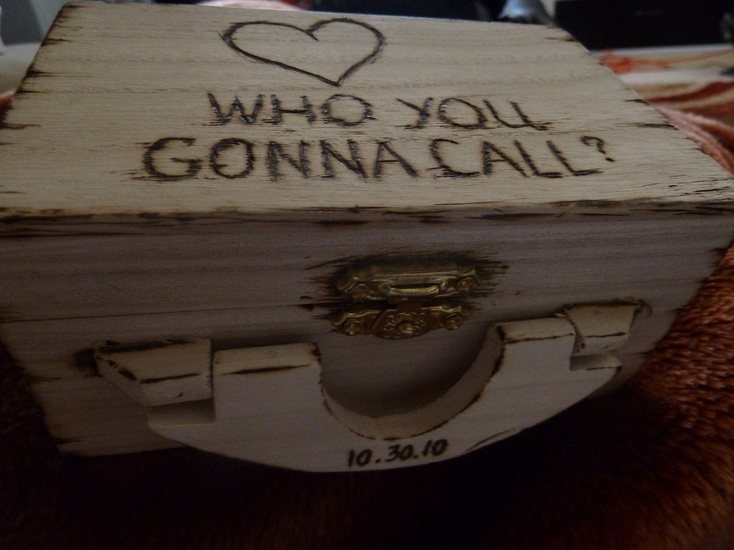
Ring box for our ring bearer
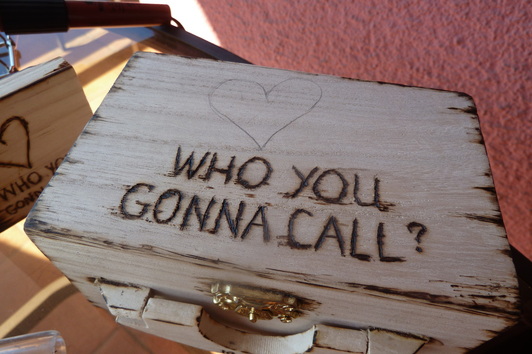
This was a collaborative project. Kerry burnt the whole box and the heart, and I burnt the writing and the date. This was my first wood burning experience, and I thought that was fun but it was difficult to burn the letters or any curves especially when you use the wrong tip. =P
Materials used:
1. Pencil
2. Wood burning tool
We've decided to write, "Who you gonna call?" because we went to see Ghostbusters (in Arclight) on our first official date - August 28, 2006.
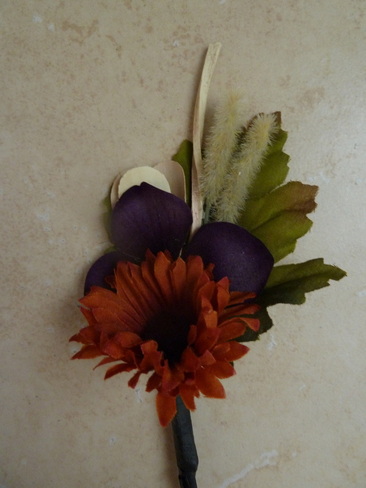
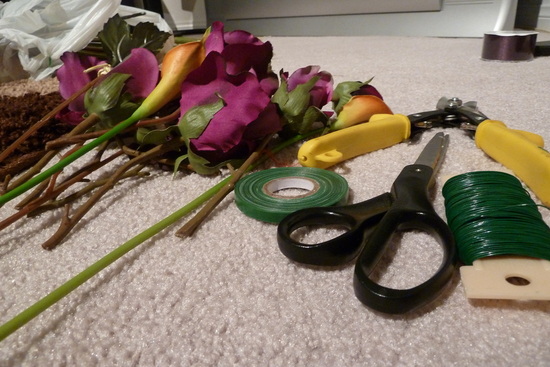
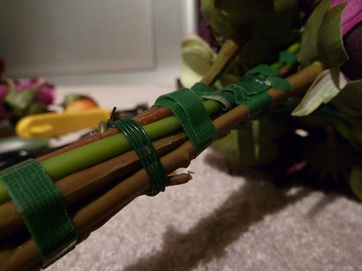
Boutonnières
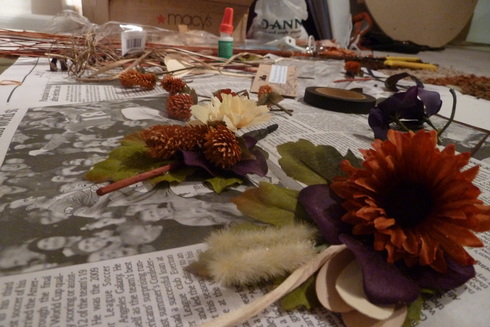
I honestly had no clue on how to make them. I've looked at so many designs and had a hard time starting one. We were also at the end of our "DIY rope" at the time but we didn't want to pay $12 for one bout (LOL!), and that kinda pushed me to make them. =P
Materials:
1. Extra silk flowers
2. Some fall/rustic sticks from Michael's
3. Hot glue
4. Brown flower tape
5. Scissors
6. Wire snips
Materials:
1. Extra silk flowers
2. Some fall/rustic sticks from Michael's
3. Hot glue
4. Brown flower tape
5. Scissors
6. Wire snips
Bouts for 3 groomsmen, 2 dads, and for my Groom
This is when I said goodbye to Etsy... OK, maybe not forever but I can now make boutonnières!
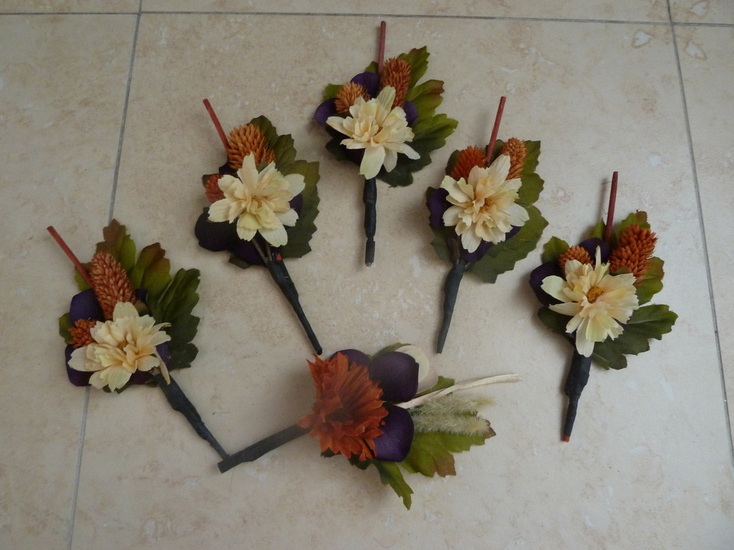
Cream flower for the GMs and dads
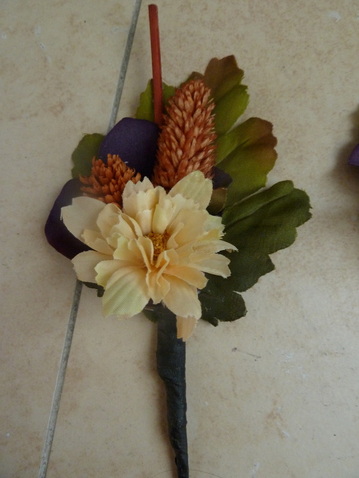
Orange flower for my Groom
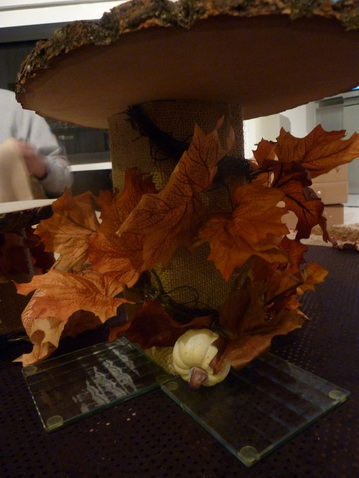
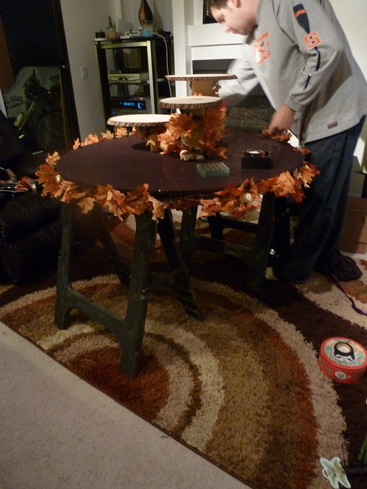
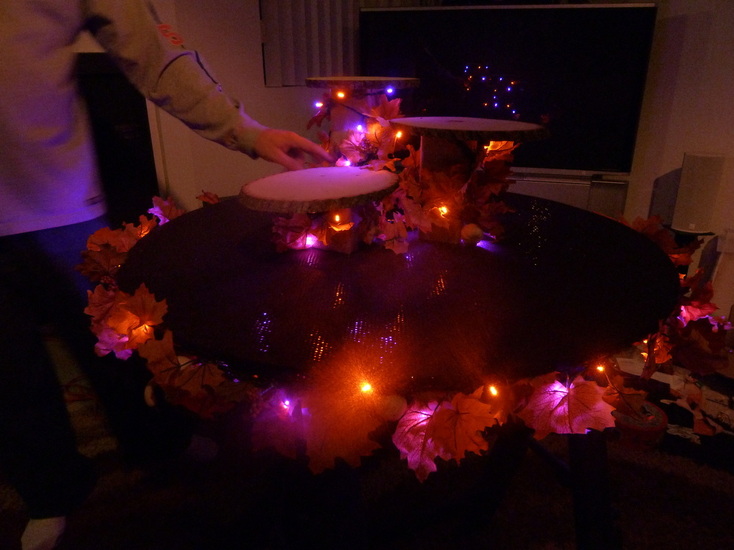
Cupcake stand
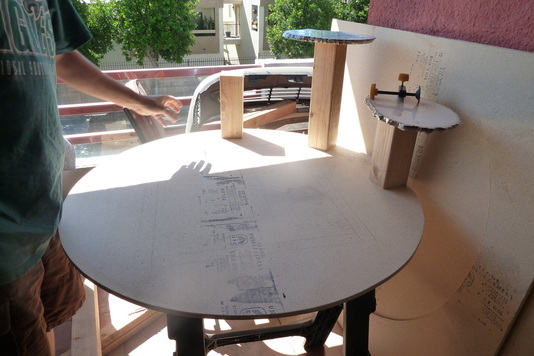
Here's our very own version of a cupcake stand. We wanted something simple, and a non-Christmas tree like stand that will go with our Fall theme.
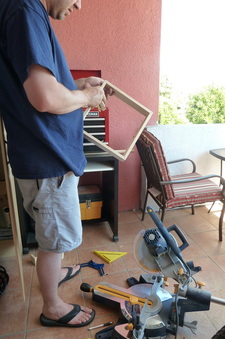
My husband made our vision with his power hands and power tools. =D Now, we all know that Kerry only builds the high quality stuff. ;)
My husband made our vision with his power hands and power tools. =D Now, we all know that Kerry only builds the high quality stuff. ;)
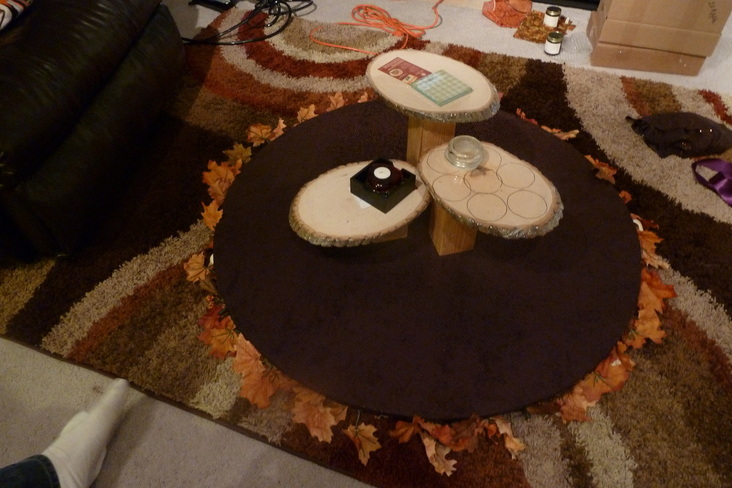
The base was wrapped with our version of bling fabric =P
Each tier was wrapped with burlap fabric, Fall garland, and purple and orange lights.
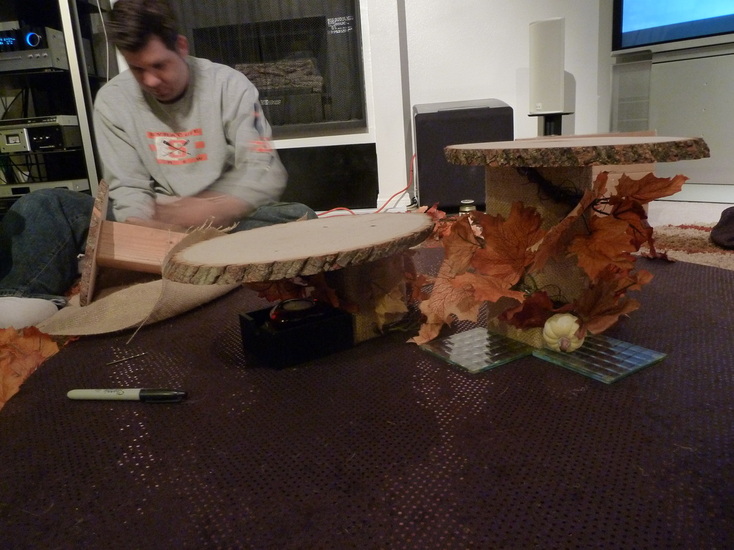
Ta-daaa!!!
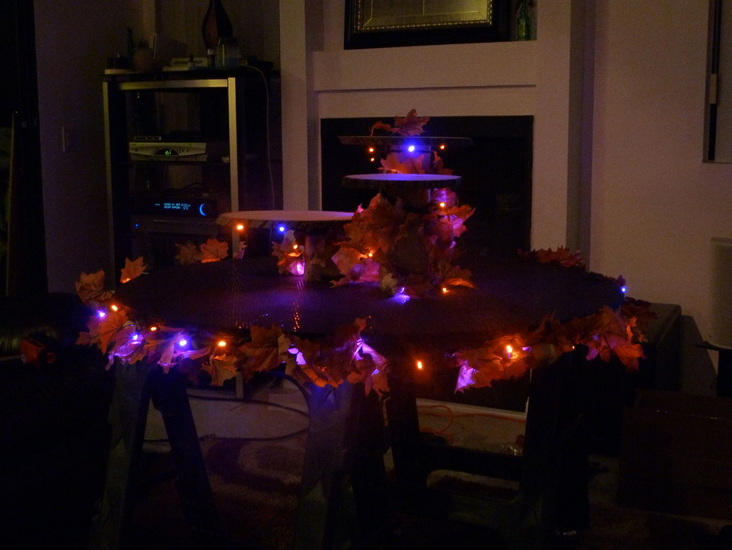
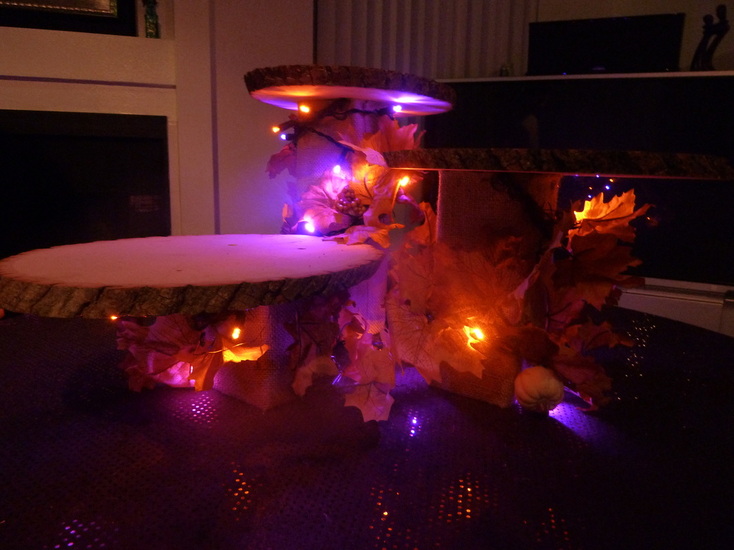
What? Did you say, "Wow! That's AWESOME!"?
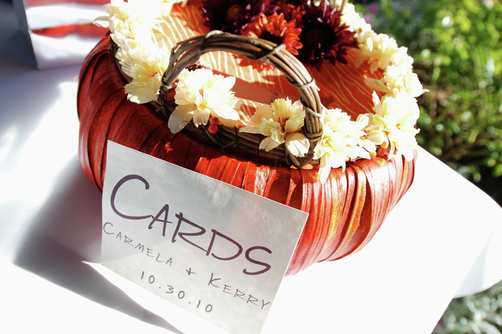
Pumpkin card box
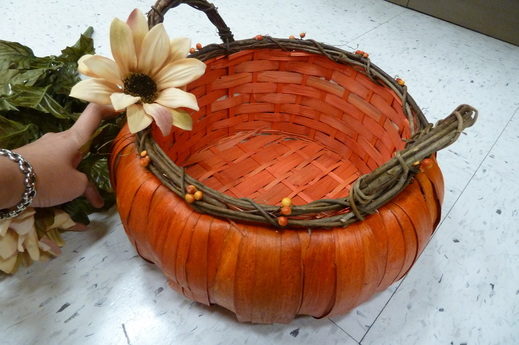
I never thought we would ever need a card box since we registered at 3 stores, we figured we will be receiving gifts so... I never bothered to make one. And because when I was looking into it, I never saw anything different from the other - they were aaall the same. But two weeks before our wedding day, we started receiving gift cards and checks in the mail! =D So off to our second home, Michael's, I found this pumpkin basket and used the silk flowers and fabric we have left.
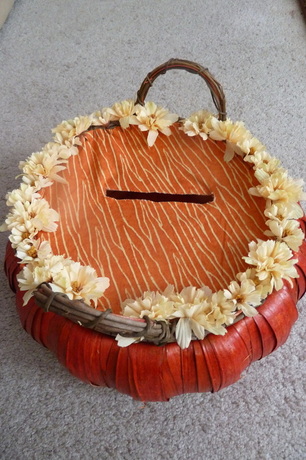
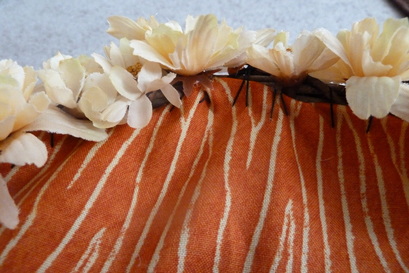
When I sewed the fabric on the basket, I failed to notice that it was stretching out, and the slot that I had originally cut in the middle went on one side. Hehe! I didn't have time to re-do the sewing or to even buy a better fabric so my damage control plan was to glue some more flowers on the other side to make up for the non-centered slot. Voila!
Sewed the fabric and glued flowers around the basket
Glued popsicle stick in the slots to make it rigid
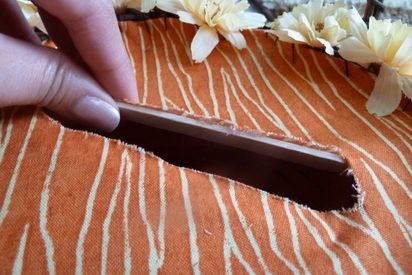
I think it worked...
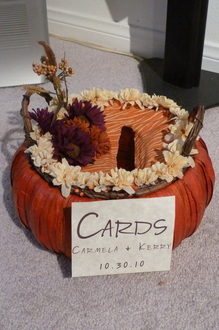
This is not a good picture of it anymore since I took this after the wedding.
Card box in action
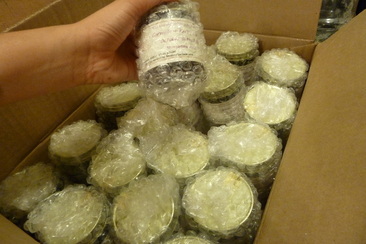
Wedding favors
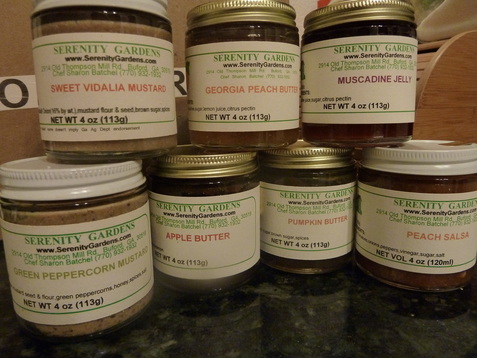
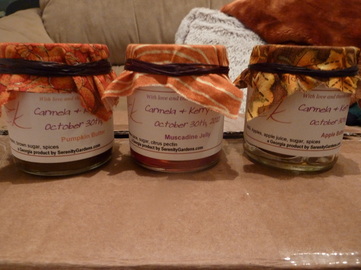
Well not exactly a DIY. Hehe. We ordered these jars from SerenityGardens.com who is based in Georgia, and who makes all kinds of jellies, spreads, jams, condiments - you name it, they have it!
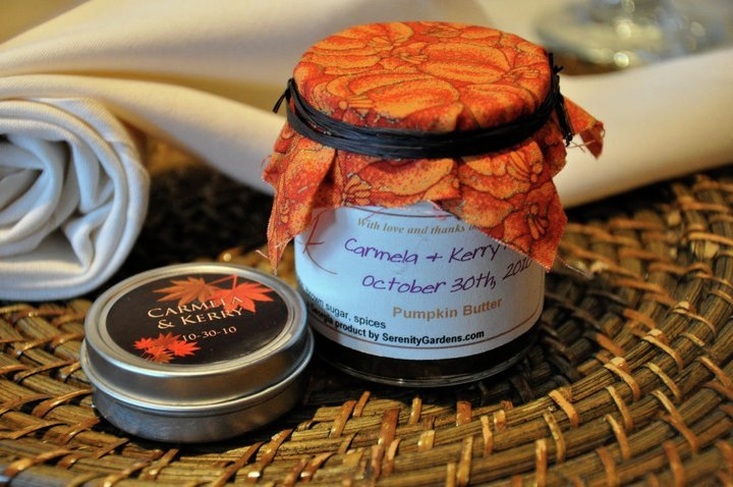
These are 4 oz bottles, they are pretty small but we thought they were perfect as our thank you favors for our Fall/rustic theme. So we ordered 7 different flavors for tasting and then, we narrowed it down to three flavors that we thought will go best on toast or crackers. We chose: Pumpkin Butter, Apple Butter and the Muscadine Jelly. MMmmmmmmm!!!!
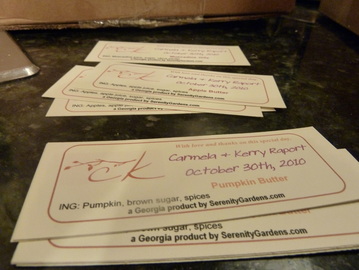
The cool things we liked about this store is that, you can customize your own label =O, they include the ingredients of the product, and they came in individually bubble wrapped! Sorry Etsy!
These are 4 oz bottles, they are pretty small but we thought they were perfect as our thank you favors for our Fall/rustic theme. So we ordered 7 different flavors for tasting and then, we narrowed it down to three flavors that we thought will go best on toast or crackers. We chose: Pumpkin Butter, Apple Butter and the Muscadine Jelly. MMmmmmmmm!!!!
The cool things we liked about this store is that, you can customize your own label =O, they include the ingredients of the product, and they came in individually bubble wrapped! Sorry Etsy!
Extra labels
Semi-DIY
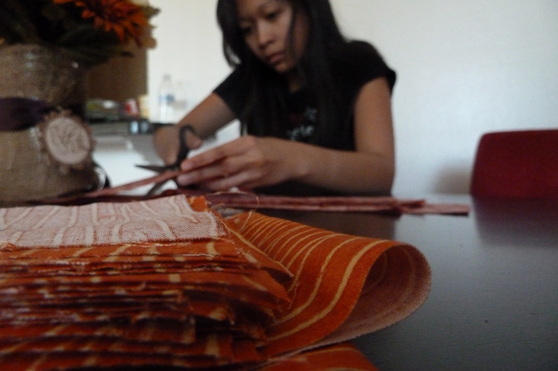
Now, the DIY part was cutting the fabrics into little squares, gluing them on the lids of the bottles, and tying the raffias around them - 90 happy times. =)
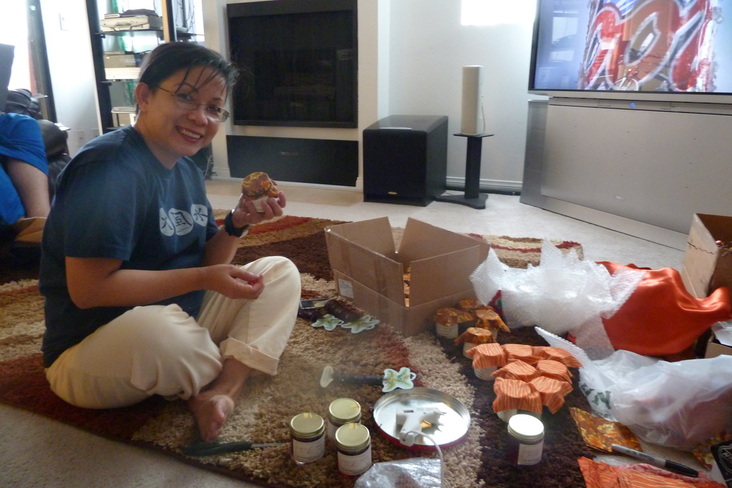
Here's my mom tying the raffias with her smiling face... LOL!
Hey! She said she wanted to help! =P
Finished jars

Jar favors in action | "With love and thanks on this special day."
The tin mints were given out as favors as well from my mother-in-law.
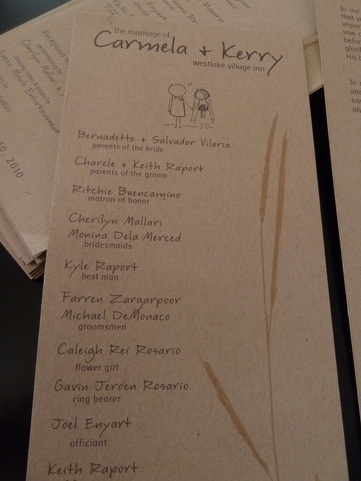
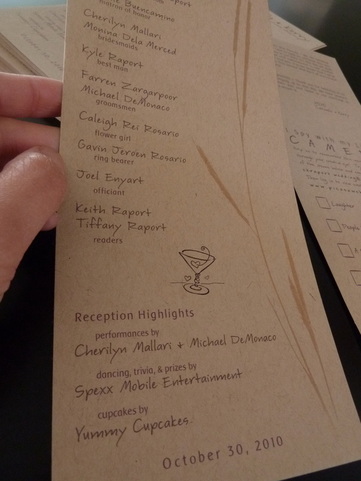
Programs
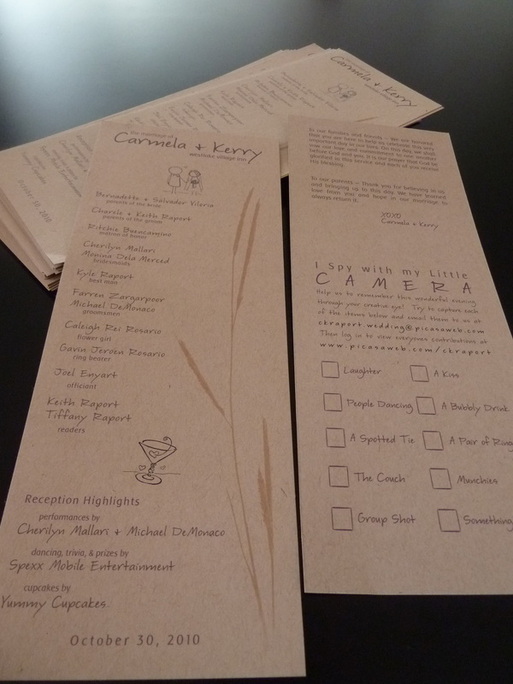
We wanted something simple for the programs. The front has the wedding party and reception highlights, and the back has our thank yous to our guests and to our parents. We added a little "I Spy" for our guests to enjoy with their cameras as well.
Thank yous to our guests and to our parents
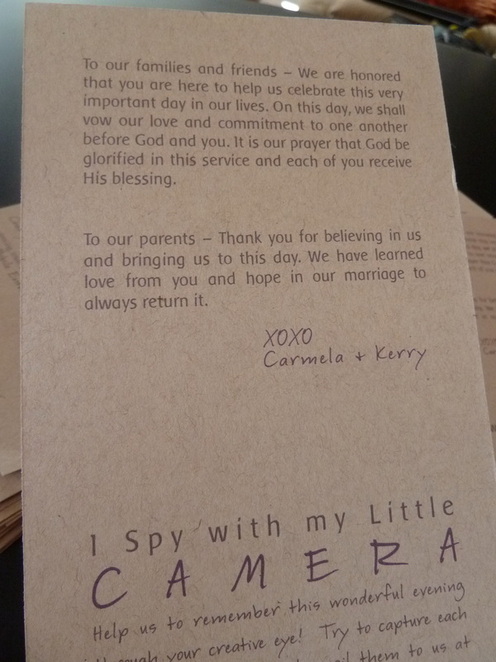
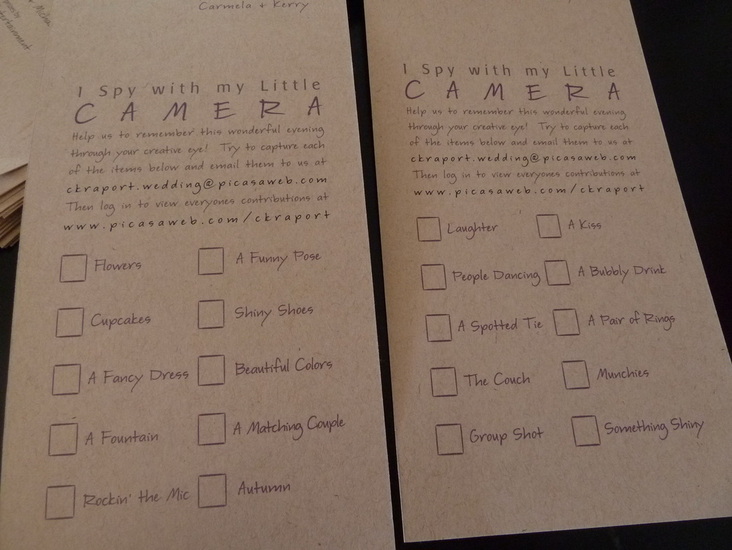
"I Spy"
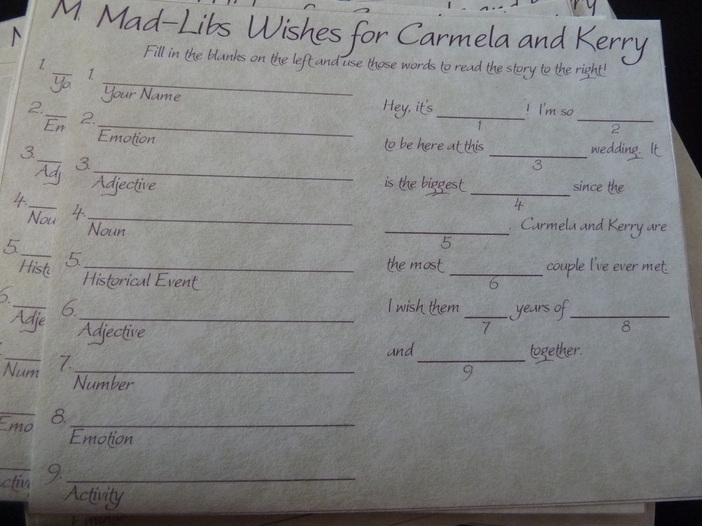
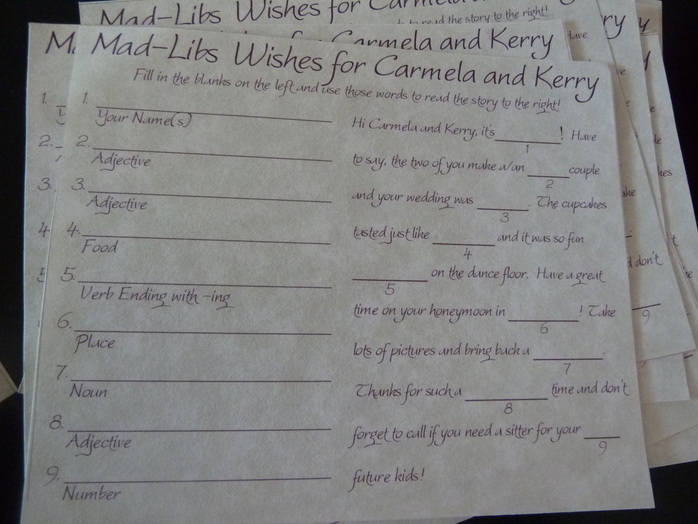
Alternative guestbook: Wish cards and Mad-Libs wishes
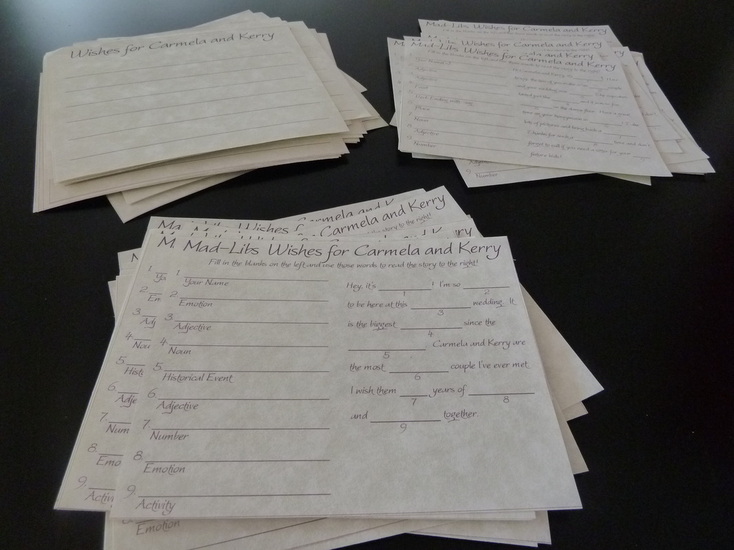
This one was written by Kerry
This one was by Kyle, the best man
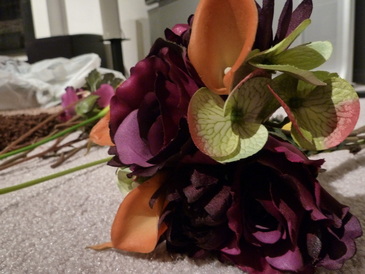
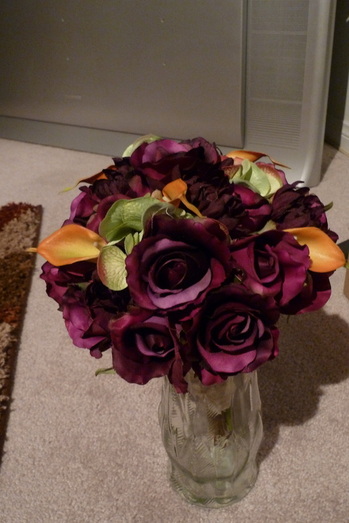
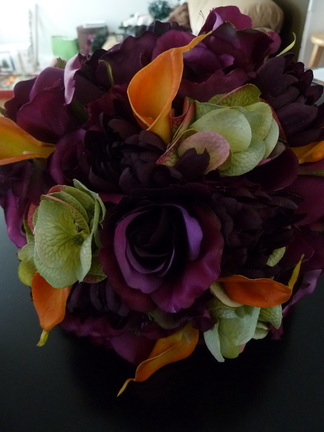
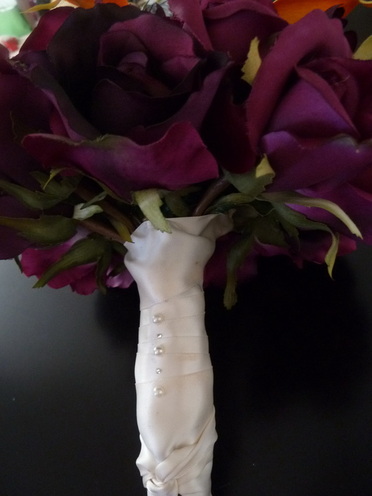
My bouquet
If you haven't wowed on my bouquet, now is your chance. =P Because I made it myself including the bridesmaids' bouquet. It wasn't easy to get the shape that I wanted for mine that even now it's been on display for 2 weeks (it was ignored with the rest of the wedding stuff in a box the first 2 weeks after the wedding), I still want to take them apart to get it right. ;) Oh well...
Trying to figure out how to tie my bouquet
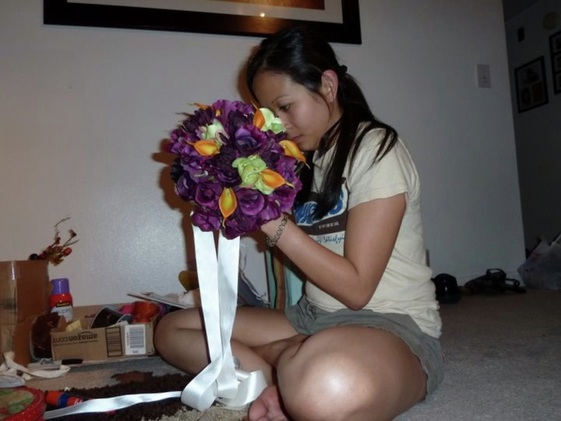
I tried different ways but it just did not work for me. My bouquet became one of my last minute projects.
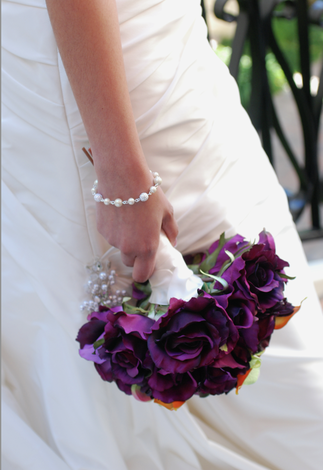
Bouquet in action
Bridesmaids' bouquet
Bride's lingo:
BMs = bridesmaids
MOH = matron/maid of honor
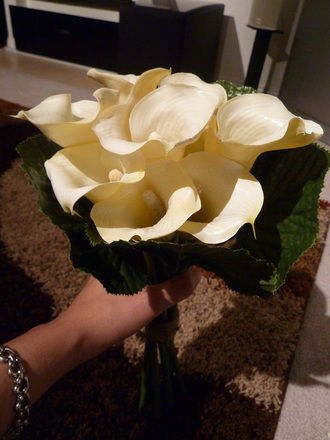
This was a lot easier than mine. I wanted something really simple for my BMs. I was originally going to use just three flowers for each but I had bought 2 dozens of this real touch cream calla lillies, supposedly for the bouquets and for the boutonnières. But Kerry ended up not liking the texture of it and I ended up using silk flowers for the bouts, so I tried to use as much callas for my MOH and BMs bouquets.
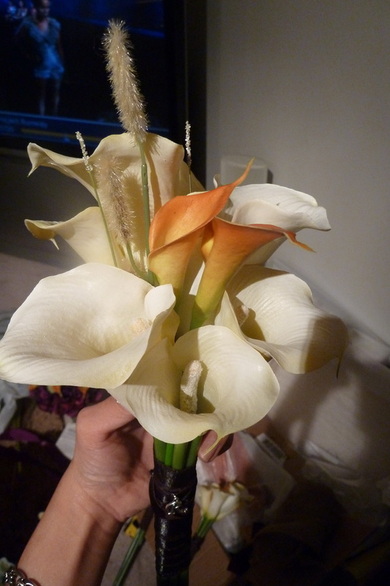
MOH and BMs bouquet in action
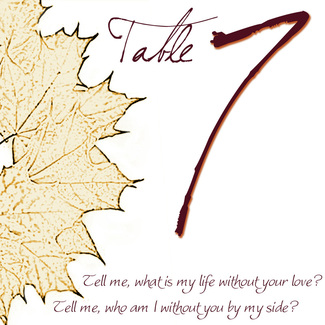
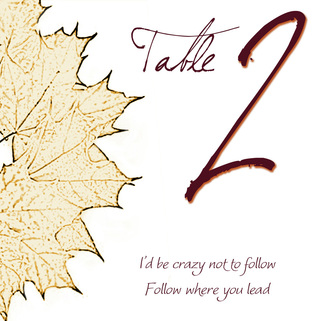
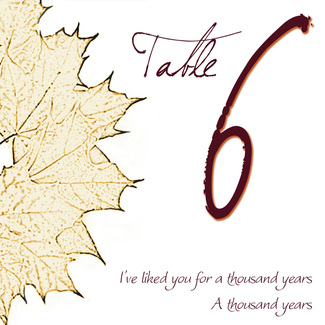
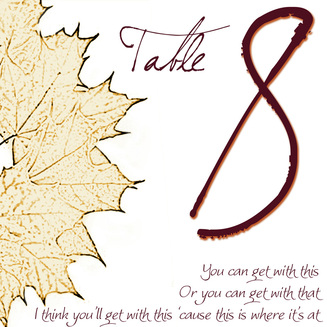
Table numbers
Designed by Kerry
We don't have any pictures of the actual table numbers when we finished making them but here's what we've decided to do. Instead of just having the table number, we've included lines from songs that we like. I found this inspiration from the Knot.com - they used random numbers that are significant to them as a couple. So same idea but we just used songs.
Table 1 is a Polish song, and it translates to, "I saw glitter in your eyes, when you were saying, 'I love you' for the first time..."
Table 1 is a Polish song, and it translates to, "I saw glitter in your eyes, when you were saying, 'I love you' for the first time..."

Place cards

HTML Comment Box is loading comments...
